Beyond Salted: Crafting Sweet, Buttery Caramel Ice Cream
There are few desserts as universally cherished and utterly indulgent as caramel ice cream. It's more than just a sweet treat; it's a sensory experience – a velvety embrace of rich, buttery sweetness that melts on your tongue, leaving behind the comforting memory of its profound flavor. While salted caramel has certainly carved out its niche, captivating palates with its intriguing sweet-and-savory dance, there's an undeniable magic in the pure, unadulterated pleasure of *sweet, buttery caramel ice cream*. This article celebrates that classic, decadent profile, guiding you through the creation of a homemade masterpiece that transcends the ordinary.
Caramel, in its essence, is a testament to the transformative power of sugar and heat. Its roots stretch back to French culinary traditions, where sugar was meticulously melted to achieve that iconic golden-brown perfection. This process, known as caramelization, is not just about browning; it's about developing complex, nutty, and often slightly fruity notes that give caramel its distinct depth. Our journey will focus on harnessing these flavors for an ice cream that truly sings with a pure, sweet caramel heart, leaving the salt shaker aside for another day. Whether you're planning a sophisticated dinner party or simply seeking a quiet moment of personal indulgence, this guide will unlock the secrets to crafting caramel ice cream that is both creamy and unforgettable.
The Allure of Pure Caramel Bliss: Why Homemade Reigns Supreme
Opting for homemade caramel ice cream is an investment in unparalleled flavor and texture. Store-bought versions, while convenient, often fall short of replicating the intense, nuanced taste of freshly made caramel swirled into a rich, homemade custard. When you make it yourself, you control the quality of ingredients, the depth of caramelization, and the final balance of sweetness and creaminess. This isn't just a recipe; it's an opportunity to create a truly bespoke dessert tailored to your preferences.
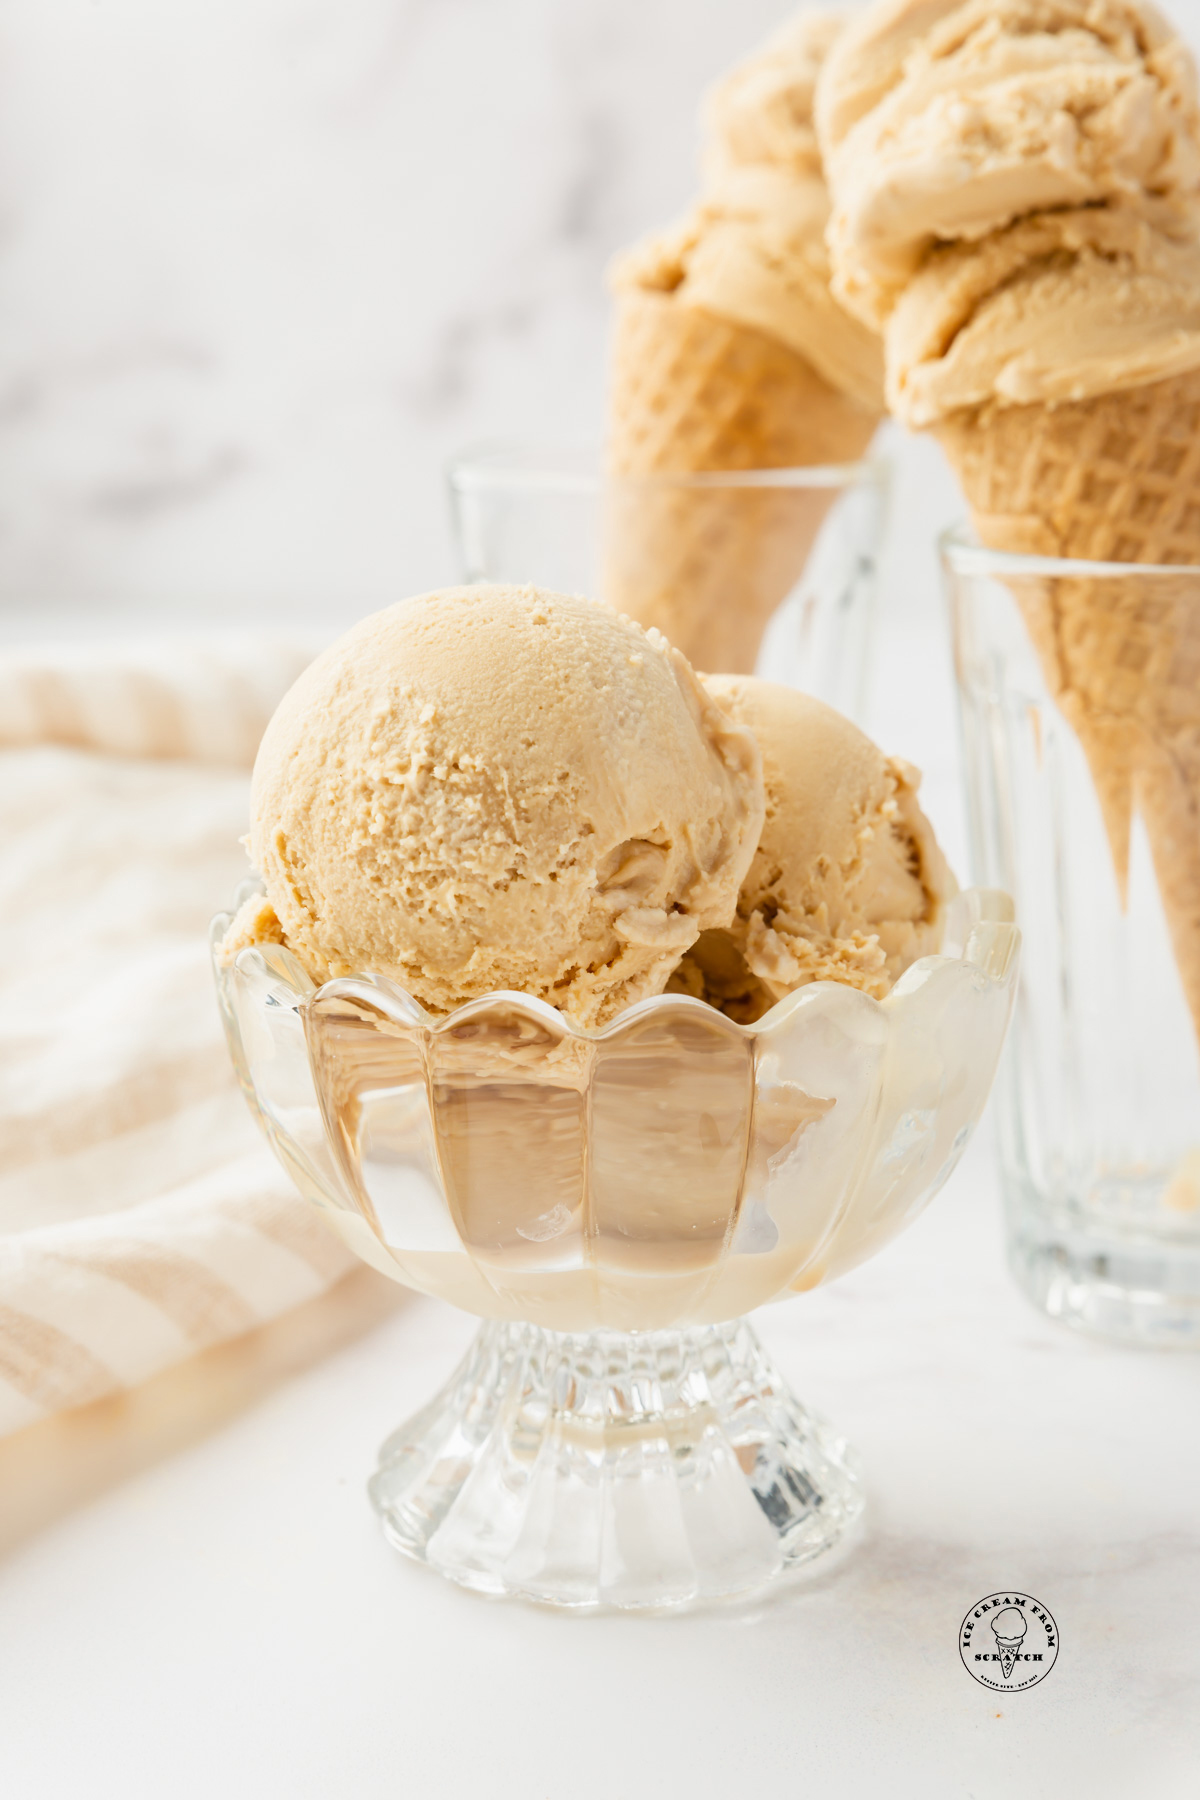
While the process of crafting homemade ice cream, particularly one with a custard base and a homemade caramel sauce, might seem a little daunting at first, rest assured it’s more about patience and attention to detail than intricate culinary wizardry. It’s a rewarding endeavor that culminates in about six generous scoops of creamy joy, though doubling the recipe is always an option if you plan to share (or simply want more!). Expect to dedicate around 15 minutes for prep and 30 minutes for cooking, followed by a crucial 8-hour chill and freeze time. This moderate skill-level endeavor, which involves making caramel and tempering eggs, might sound fancy, but it’s entirely doable with the right guidance. For an even deeper dive into perfecting your technique, explore
Master Creamy Homemade Caramel Ice Cream: Recipe & Pro Tips.
The Heart of the Matter: Crafting Your Signature Caramel Sauce
The soul of your caramel ice cream lies in its sauce. Achieving that perfect balance of sweetness, richness, and depth is crucial. For a truly buttery and integrated caramel, we lean into a method that combines brown sugar and butter, yielding a sauce that is both intensely flavorful and wonderfully smooth.
Here’s how to master this essential step:
- Melt the Butter: Begin by melting �� cup of butter in a medium saucepan over medium heat. This provides a rich base for our caramel.
- Incorporate Brown Sugar: Stir in 1 cup of packed brown sugar. Continue stirring consistently as the sugar dissolves and the mixture begins to bubble, a process that typically takes 3-4 minutes. You’re looking for a thick, glossy consistency. The brown sugar not only imparts a deeper, more molasses-like flavor than white sugar but also helps create a softer, chewier caramel that integrates beautifully into the ice cream without hardening too much.
- Whisk in Cream: This is a critical moment. Slowly and carefully whisk in ½ cup of heavy cream. Be prepared for the mixture to bubble up quite vigorously – this is completely normal! Continue to cook for another 1-2 minutes, then immediately remove the saucepan from the heat to allow the caramel to cool slightly.
Pro Tip: When making caramel, resist the urge to stir nonstop once the sugar has completely melted and is actively caramelizing. Excessive stirring at this stage can introduce air and cause sugar crystals to form, leading to a grainy texture. Focus on gentle stirring initially to dissolve the sugar, then let it do its work. While this recipe specifically highlights the brown sugar and butter method for a soft, buttery caramel perfect for ice cream, you might encounter recipes that use only granulated sugar and water. This method, while yielding a very pure caramel flavor, is more prone to hardening and can be trickier for beginners. For our sweet, buttery ice cream, the brown sugar approach is ideal for its forgiving nature and incredible flavor.
Building the Creamy Dream: Mastering the Custard Base
A truly exceptional ice cream owes its creamy texture and rich mouthfeel to a well-executed custard base. This is where eggs and dairy come together to form a luxurious foundation that prevents ice crystals and provides a smooth, luscious canvas for your caramel.
You’ll need:
- 4 large egg yolks
- ½ cup granulated sugar
- 1½ cups whole milk
- 1½ cups heavy cream (the remaining portion after making the caramel)
- ¼ teaspoon kosher salt (for balance, not to make it "salted" caramel)
- 1 teaspoon vanilla extract
Here's the breakdown of creating your custard:
- Whisk Eggs and Sugar: In a mixing bowl, whisk the egg yolks and granulated sugar together until the mixture becomes pale yellow and creamy. This aerates the yolks and starts the thickening process.
- Warm the Dairy: In a separate medium saucepan, gently warm the whole milk and the remaining heavy cream along with ¼ teaspoon of kosher salt over medium heat. Do not let it boil; simply heat until it’s steaming gently around the edges. The salt here acts as a flavor enhancer, subtly deepening the other ingredients without making the ice cream taste salty.
- Temper the Eggs: This is the "fancy but doable" part. Slowly drizzle about half of the warm milk mixture into your egg yolk and sugar mixture, whisking continuously. This gradually brings the temperature of the eggs up, preventing them from scrambling. Once combined, pour the tempered egg mixture back into the saucepan with the remaining warm milk.
- Cook the Custard: Return the saucepan to medium-low heat. Cook, stirring constantly with a whisk or a wooden spoon, until the custard thickens enough to coat the back of a spoon (about 7-10 minutes). Again, do not let it boil, as this can curdle the eggs.
- Strain and Chill: Immediately remove the custard from the heat. Stir in the vanilla extract. For the smoothest possible ice cream, strain the custard through a fine-mesh strainer into a clean bowl. This removes any tiny bits of cooked egg that might have formed. Stir in your cooled caramel sauce. Then, cover the bowl and chill the entire base in the refrigerator for at least 8 hours, or ideally overnight. This chilling process is absolutely critical for the best texture and churn.
Substitutions (Because Life Happens):
*
Brown Sugar vs. White Sugar: If you're out of brown sugar for the caramel, white granulated sugar works, but expect a slightly milder, less complex caramel flavor.
*
Heavy Cream vs. Half-and-Half: For a lighter base, you can swap heavy cream for half-and-half, though it will result in a slightly less rich and creamy texture.
*
Dairy-Free Options: For a dairy-free version, experiment with almond or oat milk in place of whole milk, keeping in mind the texture might vary.
*
Salt Alternatives: If you don't have kosher salt, sea salt or table salt can be used, but reduce the quantity slightly as they are saltier by volume.
Insider Tip: Let your dairy and eggs come to room temperature before you begin. This helps them blend more smoothly and contributes to a more uniform custard. To learn more about perfecting this step, refer to
Your Guide to Decadent Caramel Ice Cream: Moderate Skill Recipe.
From Base to Bowl: Churning, Freezing, and Savory Enjoyment
Once your caramel custard base is thoroughly chilled, you're ready for the final stages of transformation – churning and freezing. This is where the magic truly unfolds, turning a liquid base into a scoopable, creamy delight.
- Churning: Transfer your chilled caramel custard base to an ice cream maker and churn according to the manufacturer’s instructions. This usually takes about 20-30 minutes, during which the mixture will thicken and expand, taking on a soft-serve consistency. The churning process introduces air, creating that light, airy texture we love in ice cream, while simultaneously freezing the mixture. If you don't have an ice cream maker, a no-churn method can sometimes be adapted for custard bases, but for the optimal creamy texture, a churner is highly recommended.
- Freezing: Once churned, the ice cream will be soft. Transfer it to an airtight freezer-safe container. Press a piece of parchment paper directly onto the surface of the ice cream to prevent ice crystals from forming, then seal the container. Freeze for at least 4-6 hours, or preferably overnight, until it reaches a firm, scoopable consistency. This allows the ice cream to fully set and develop its final texture.
- Serving: Before serving, let the ice cream sit at room temperature for 5-10 minutes to soften slightly, making it easier to scoop and enhancing its creamy texture. Enjoy it plain to truly savor the pure caramel flavor, or consider simple garnishes like a drizzle of extra caramel sauce, a sprinkle of toasted pecans, or a dollop of whipped cream.
Pro Planning Tip: You can prepare the ice cream base up to two days in advance, storing it in the refrigerator. This allows you to split the workload and ensures you’re not rushing on churning day, making the entire process more relaxed and enjoyable.
Crafting sweet, buttery caramel ice cream at home is a culinary journey that rewards patience with unparalleled deliciousness. From the careful caramelization of sugar to the delicate tempering of eggs and the final embrace of the churn, each step contributes to a dessert that is far superior to anything you’ll find in a grocery store. It’s an act of pure indulgence, a celebration of classic flavors, and a testament to the simple joy of creating something truly special with your own hands. So, gather your ingredients, take a deep breath, and prepare to embark on a delicious adventure that will leave you, and anyone lucky enough to share, utterly enchanted by the magic of homemade caramel ice cream.